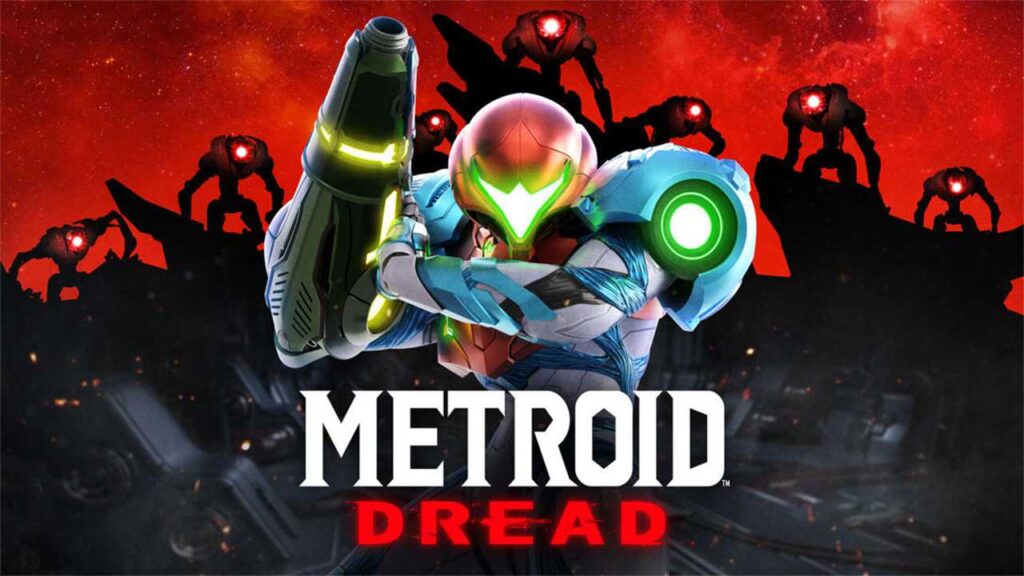
Metroid Dread is an action-adventure game developed by MercurySteam and Nintendo EPD, released on October 8, 2021, for the Nintendo Switch. Set after Metroid Fusion, players control bounty hunter Samus Aran as she faces a robotic enemy on the planet ZDR.
Samus faces some of her toughest opponents yet in Metroid Dread. Among the lot are crazy aliens, EMMI robots, and much more. If you’re here then you know how hard it is to beat some of these baddies. The challenge is part of what makes this one of the best Nintendo Switch games out there right now. Don’t worry. We’re here to help you out. Here’s how to take each one of these bosses down a notch.
Returnal Mission List and Boss Fight Guide | Call of Duty Warzone Mission List
Corpious
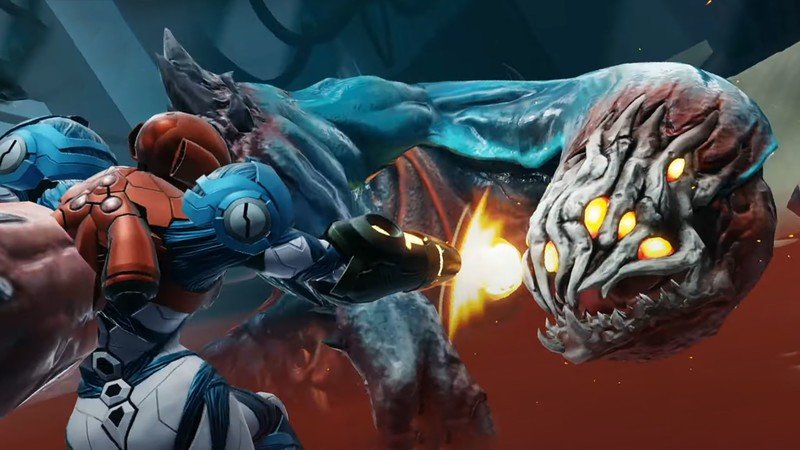
This monster will attempt to hit you with its tail, so keep a good distance away while targeting its face. That tail has a long reach, so jump out of the way if it prepares to strike. If you can manage to slide under the tail right before it sticks in the ground, Corpious’ face will be defenseless to your barrage of blasts.
Phase 2
After a brief cutscene, your opponent will go mostly invisible. Take aim at the glowing tail, jump, and shoot if you have to. You’ll still need to dodge any quick tail swipes while doing this. After a few direct hits, it’ll reappear with its back facing you. Quickly slide under its rib cage so you’re in front of it and start shooting at its face again.
It might start vomiting up noxious fumes. Attach yourself to the wall to escape this poison and continue to shoot your enemy in the face using your regular fire and any missiles you have. Now Corpious will go back and forth between being visible and invisible. Take aim at its glowing tale when you need to but otherwise attack its face until it’s dead. Now enjoy a freaking awesome cutscene.
Kraid
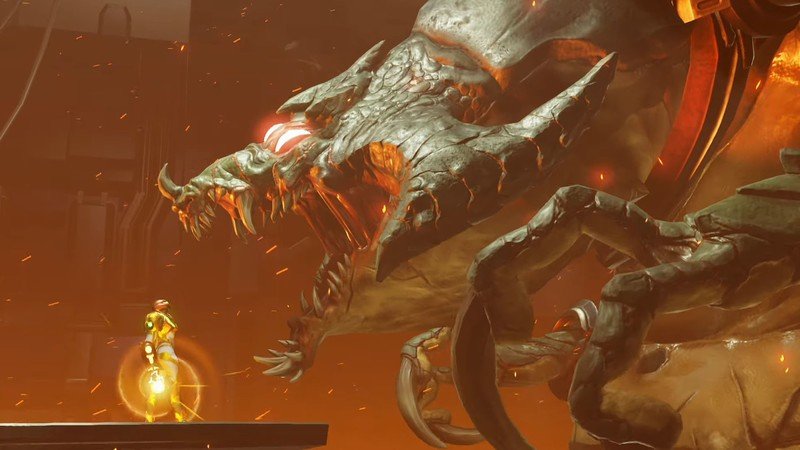
Kraid’s locked up and not in a very good mood. Fortunately, the restraints keep him from swiping at you, but he’s got other tricks up his sleeve. Start off by shooting missiles relentlessly at its face. When it starts hacking up poisonous balls, switch to your default fire and destroy them before they touch you. Then continue to shoot away at its face.
Phase 2
After a cutscene, Kraid becomes enraged and partially frees itself. However, Samus notes an infection, belly button, or other strange bulge on the monster’s stomach that starts shooting bouncing balls. Dodge around these balls and continuously shoot everything you’ve got at the opening.
Eventually, spikes will shoot out of three openings. Quickly jump on top of these and then latch on to the blue section of wall on the top left. Now shoot missiles at Kraid’s face. It’ll start throwing bones at you, so make sure to destroy those with quick blasts. Repeat the process a few more times until Samus defeats it in spectacular style.
Robot Chozo Soldier
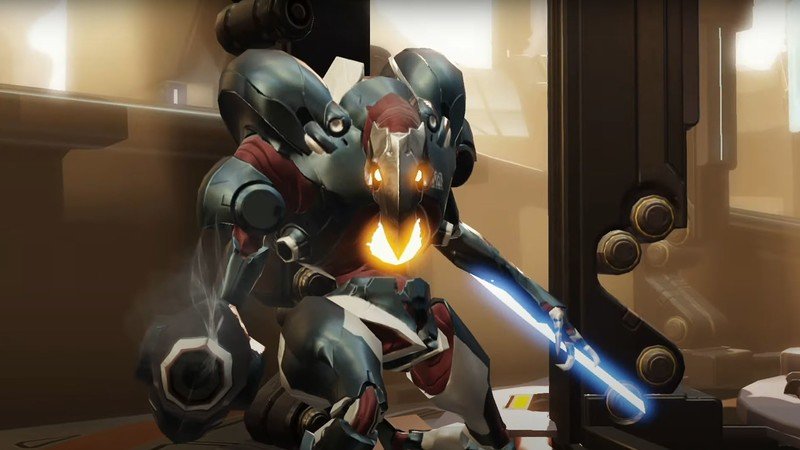
Poor guy, who would have seen that coming? Now it’s time to avenge your Chozo friend. This guy is really fast, so prepare to jump around and use every platform. If you see it put its spear on the ground, jump to a different platform or jump over it when it slides by. Then take every opportunity to launch missiles its way, but it’ll shoot fiery blue balls, so make sure to dodge those. Just keep jumping behind it and shooting its back and repeating the process and you should defeat it in no time.
Drogyga
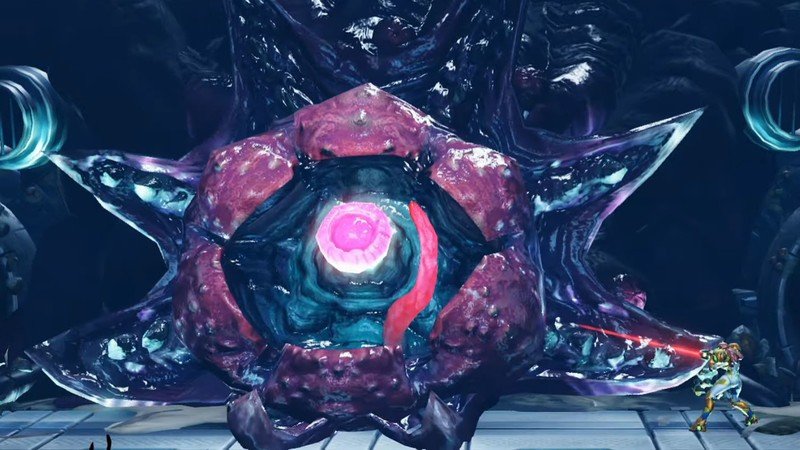
Now on to the underwater portion of our evening. You’ll immediately notice that Drogyga has a tentacle directly above it reaching upward. Do all you can to shoot this out with missiles while avoiding the falling orange and blue balls. Once the tentacle is injured, attach yourself to the blue block above and propel yourself to the other side of the tank. Now shoot the green button on the bottom left to drain the water.
Phase 2
Drogyga will open its beak and expose a pink… something. Shoot this thing repeatedly with missiles until Drogyga sucks it back in and closes its beak once more. Now once more aim at the tentacle above while dodging falling debris. Once it’s injured, use the blue block to side to the other side and shoot the green button to lower the water again and then proceed to attack the pink thing. Repeat this as much as necessary.
Phase 3
Eventually, you’ll find that shooting one green button doesn’t do anything. That’s because you’ll need to slide to both sides of the tank and shoot both buttons to lower the water. Drop to the ground and shoot away at the pink thing with your strongest projectiles until it’s dead.
Chozo Soldier (Spear)
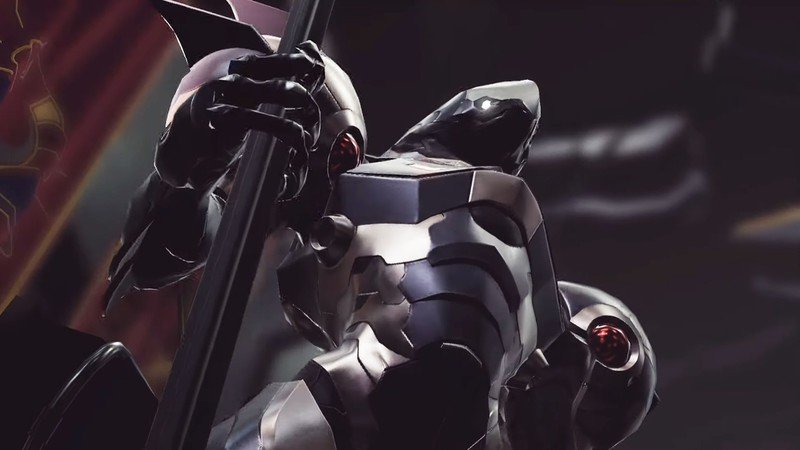
You’ll want to keep your distance from this soldier since his spear has a very long reach. If you see him jump on the wall, prepare to move as he’ll try to come crashing down towards you with his spear. As this is happening, shoot your best missiles his way and continue to dodge.
Phase 2
Eventually, a small cutscene will show him leaning down like some desperate predator and his mouth will open up like a Venom symbiote. He’ll be even more aggressive now. Prepare to jump and propel yourself over to him when he lunges forward. Then, shoot him from behind as much as you can. After a while, you’ll see his gnarly end.
Escue
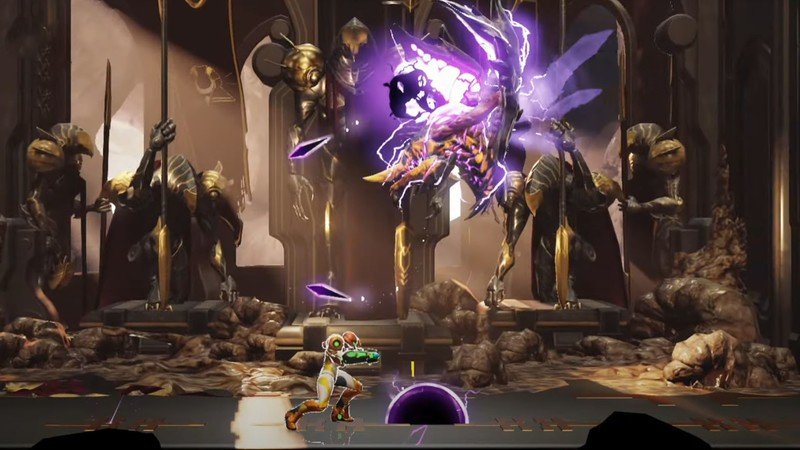
Escue flies into the room without much fanfare, but he’s still a tricky bugger. You need to stay away from him while he’s electrified and shoots from a distance. Watch out for the purple projectiles as they wave around towards you or go straight to the ground and make the whole floor electrified for a second or two. The best way to beat him is to jump repeatedly and take aim.
Phase 2
After a while, he’ll morph into a spiked yellow and green ball and come after you. Jump and dodge to either side of the room repeatedly between firing at it and eventually, you’ll defeat him.
Twin Robot Chozo Soldier
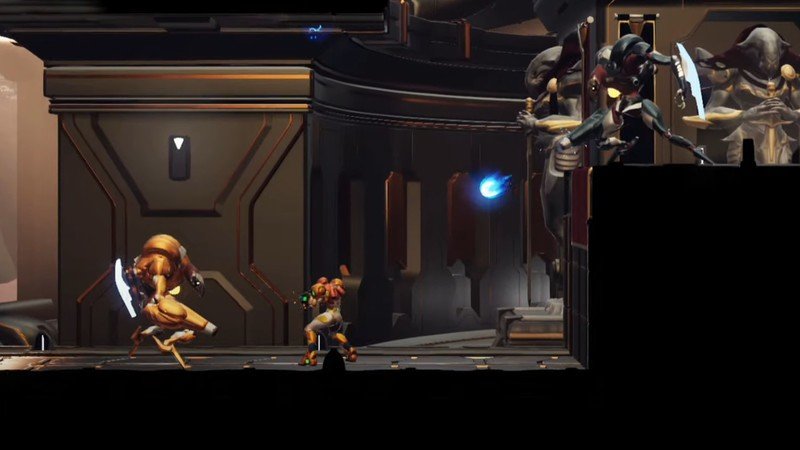
This is just like fighting the previous Chozo Soldier, only now there are two of them that you need to watch out for. I suggest focusing on one of them and getting it out of the way before finishing off the second one. They’re very fast, so make use of the whole area. When you see that tale-tell red glow, prepare to jump over them and shoot them from behind until they’re both gone.
Experiment No. Z-57
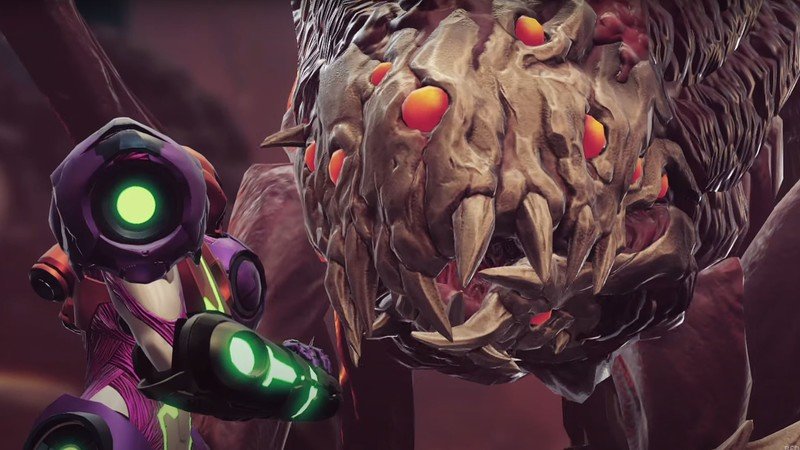
Experiment No. Z-57 attaches itself to the top of the stage and will try to swipe at you with either of its hands. Target its face and continually shoot away while jumping over those hand swipes. If it swings from the left, jump to the upper right of the screen. If it swings from his right, jump to the upper left. It’ll also blast some red stuff all over the place. Avoid getting hit as much as possible and continue to shoot away. At times you’ll need to get right up next to it to avoid that laser vomit.
Phase 2
After a little tussle with Samus, this alien Frankenstein becomes enraged. You’ll notice that its arms glow yellow when they hold on to the stage. Target all of them with your missiles and let them fly.
Now comes the tricky part. It will blast red energy on one side of the stage, which will make things come flying towards Samus. Make Samus run towards the projectiles so she doesn’t hit the back wall, and jump or dodge under these red bursts until it stops.
Once that’s done, continue to target and shoot multiple missiles at its face. It might do a double swipe, so prepare to jump up in the center of the screen near the Experiment’s face to avoid getting hurt. Continue to shoot missiles, jump over hand swipes, or dodge the red energy until it’s defeated.
Golzuna
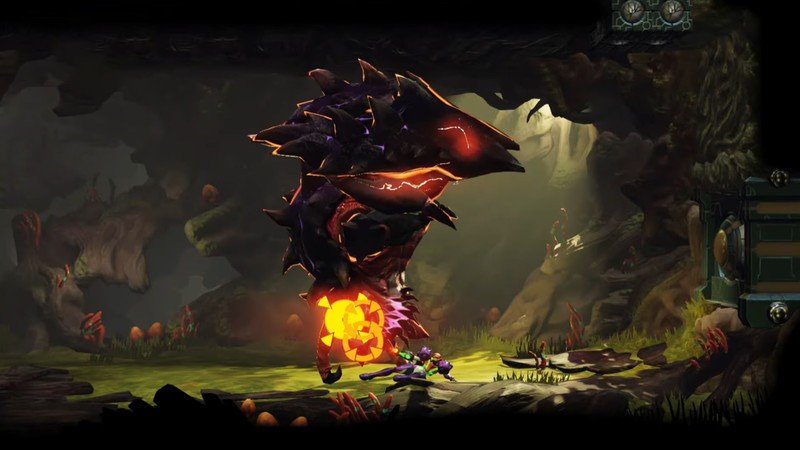
This crab-like enemy might be slow, but what it lacks in speed it makes up for in power. It will try to corner you and then bring its massive claws crashing down on you. Continually shoot its head (the smaller side) with missiles from a distance. When it approaches and stands up with claws in the air, slide underneath it and continue shooting its head before it turns around. It will help if you run to the far ends of the room so you have more chances to shoot it before it catches up.
Phase 2
It will turn into the same weird spikey ball we saw when fighting Escue. Dodge around it by jumping to various corners of the room and continue to shoot everything you’ve got at it until it’s gone.
Chozo Soldier
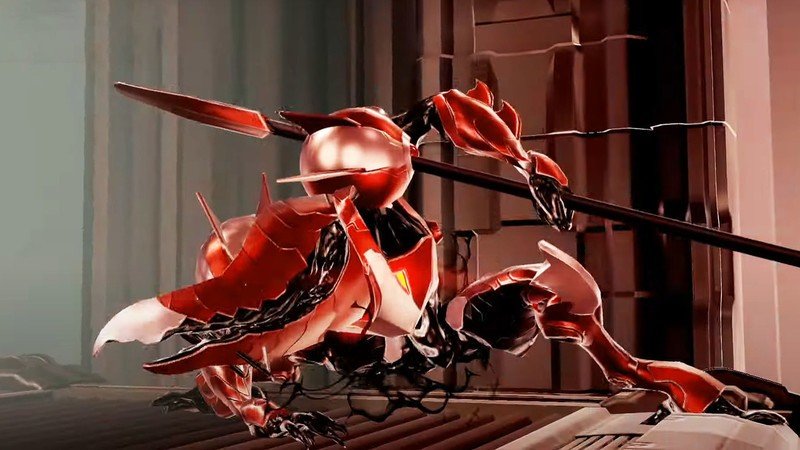
This guy is like the last Chozo Soldier you fought with a spear, but he’s got a shield as well. Keep your distance from that long reach and continue moving around as he’ll try to launch off the wall to skewer you. All the while sending all of the missiles you’ve got his direction. If it latches onto the wall it will spew black gunk in a straight line. Avoid this sludge and continue to shoot at him until it’s dead.
Raven Beak
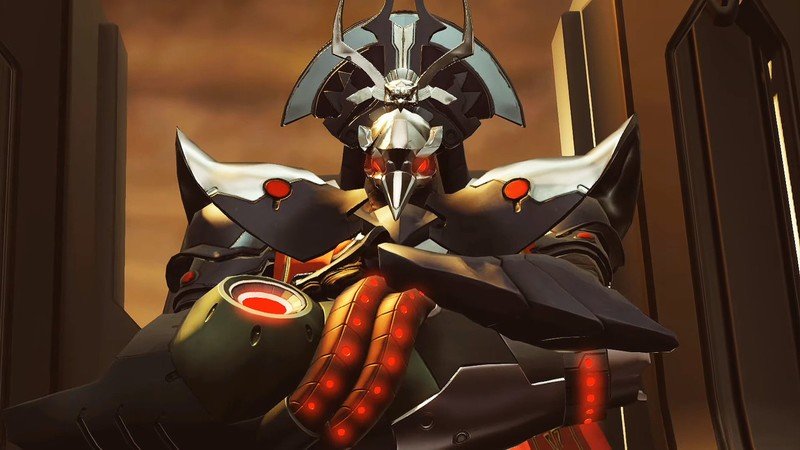
This crazy Chozo has a few powerful attacks to be aware of. If you see it spread its legs wide and thrust its hand into the air, you’re going to want to get really close to it. A beam will flash out straight above it, but then will lower and touch everything but a small triangle of space around the enemy, so being up close will keep you safe. Now, quickly jump away to get out of that long reach. Target this anthropomorphic bird with your best missiles and continue to let them fly as you dodge its attacks.
Phase 2
It will start sending electric purple balls your way. Target these with missiles to destroy them before they touch you. Then, run up and hide in the laser light show triangle, but be ready to quickly jump away once it’s safe.
Phase 3
A small cutscene will play and Raven Beak’s wings will come out, changing up gameplay considerably. Target it with missiles and move away if it ever tries to get above your head as it will try to come crashing down on you. It might move towards the center of the stage and shoot a barrage of projectiles your way, so use your double jumping abilities to jump in a circle around it until this stops. If it prepares a Repeat the process sending missiles whenever you can until you enter the next stage.
Phase 4
Oh no, the scary bird has lost a wing, so of course, it rips the other one-off to match (that’s kind of dark, huh). At any rate, your opponent is flightless once again. Continue to keep your distance from it while it shoot blasts of energy or electric balls your way. If it prepares to shoot skyward, once more dodge under the safety of its triangle before jumping away to safety. You might see it send an orange ball into the top center of the stage curl up into a ball and then release a bomb to defeat the small projectiles that get released from it without taking damage. Repeat everything you’ve done before this until a crazy cutscene plays showing a scene you’d expect to see in Resident Evil.
Now run for your life, cause the clock is ticking and use your fun new blast to clear any obstacles.

